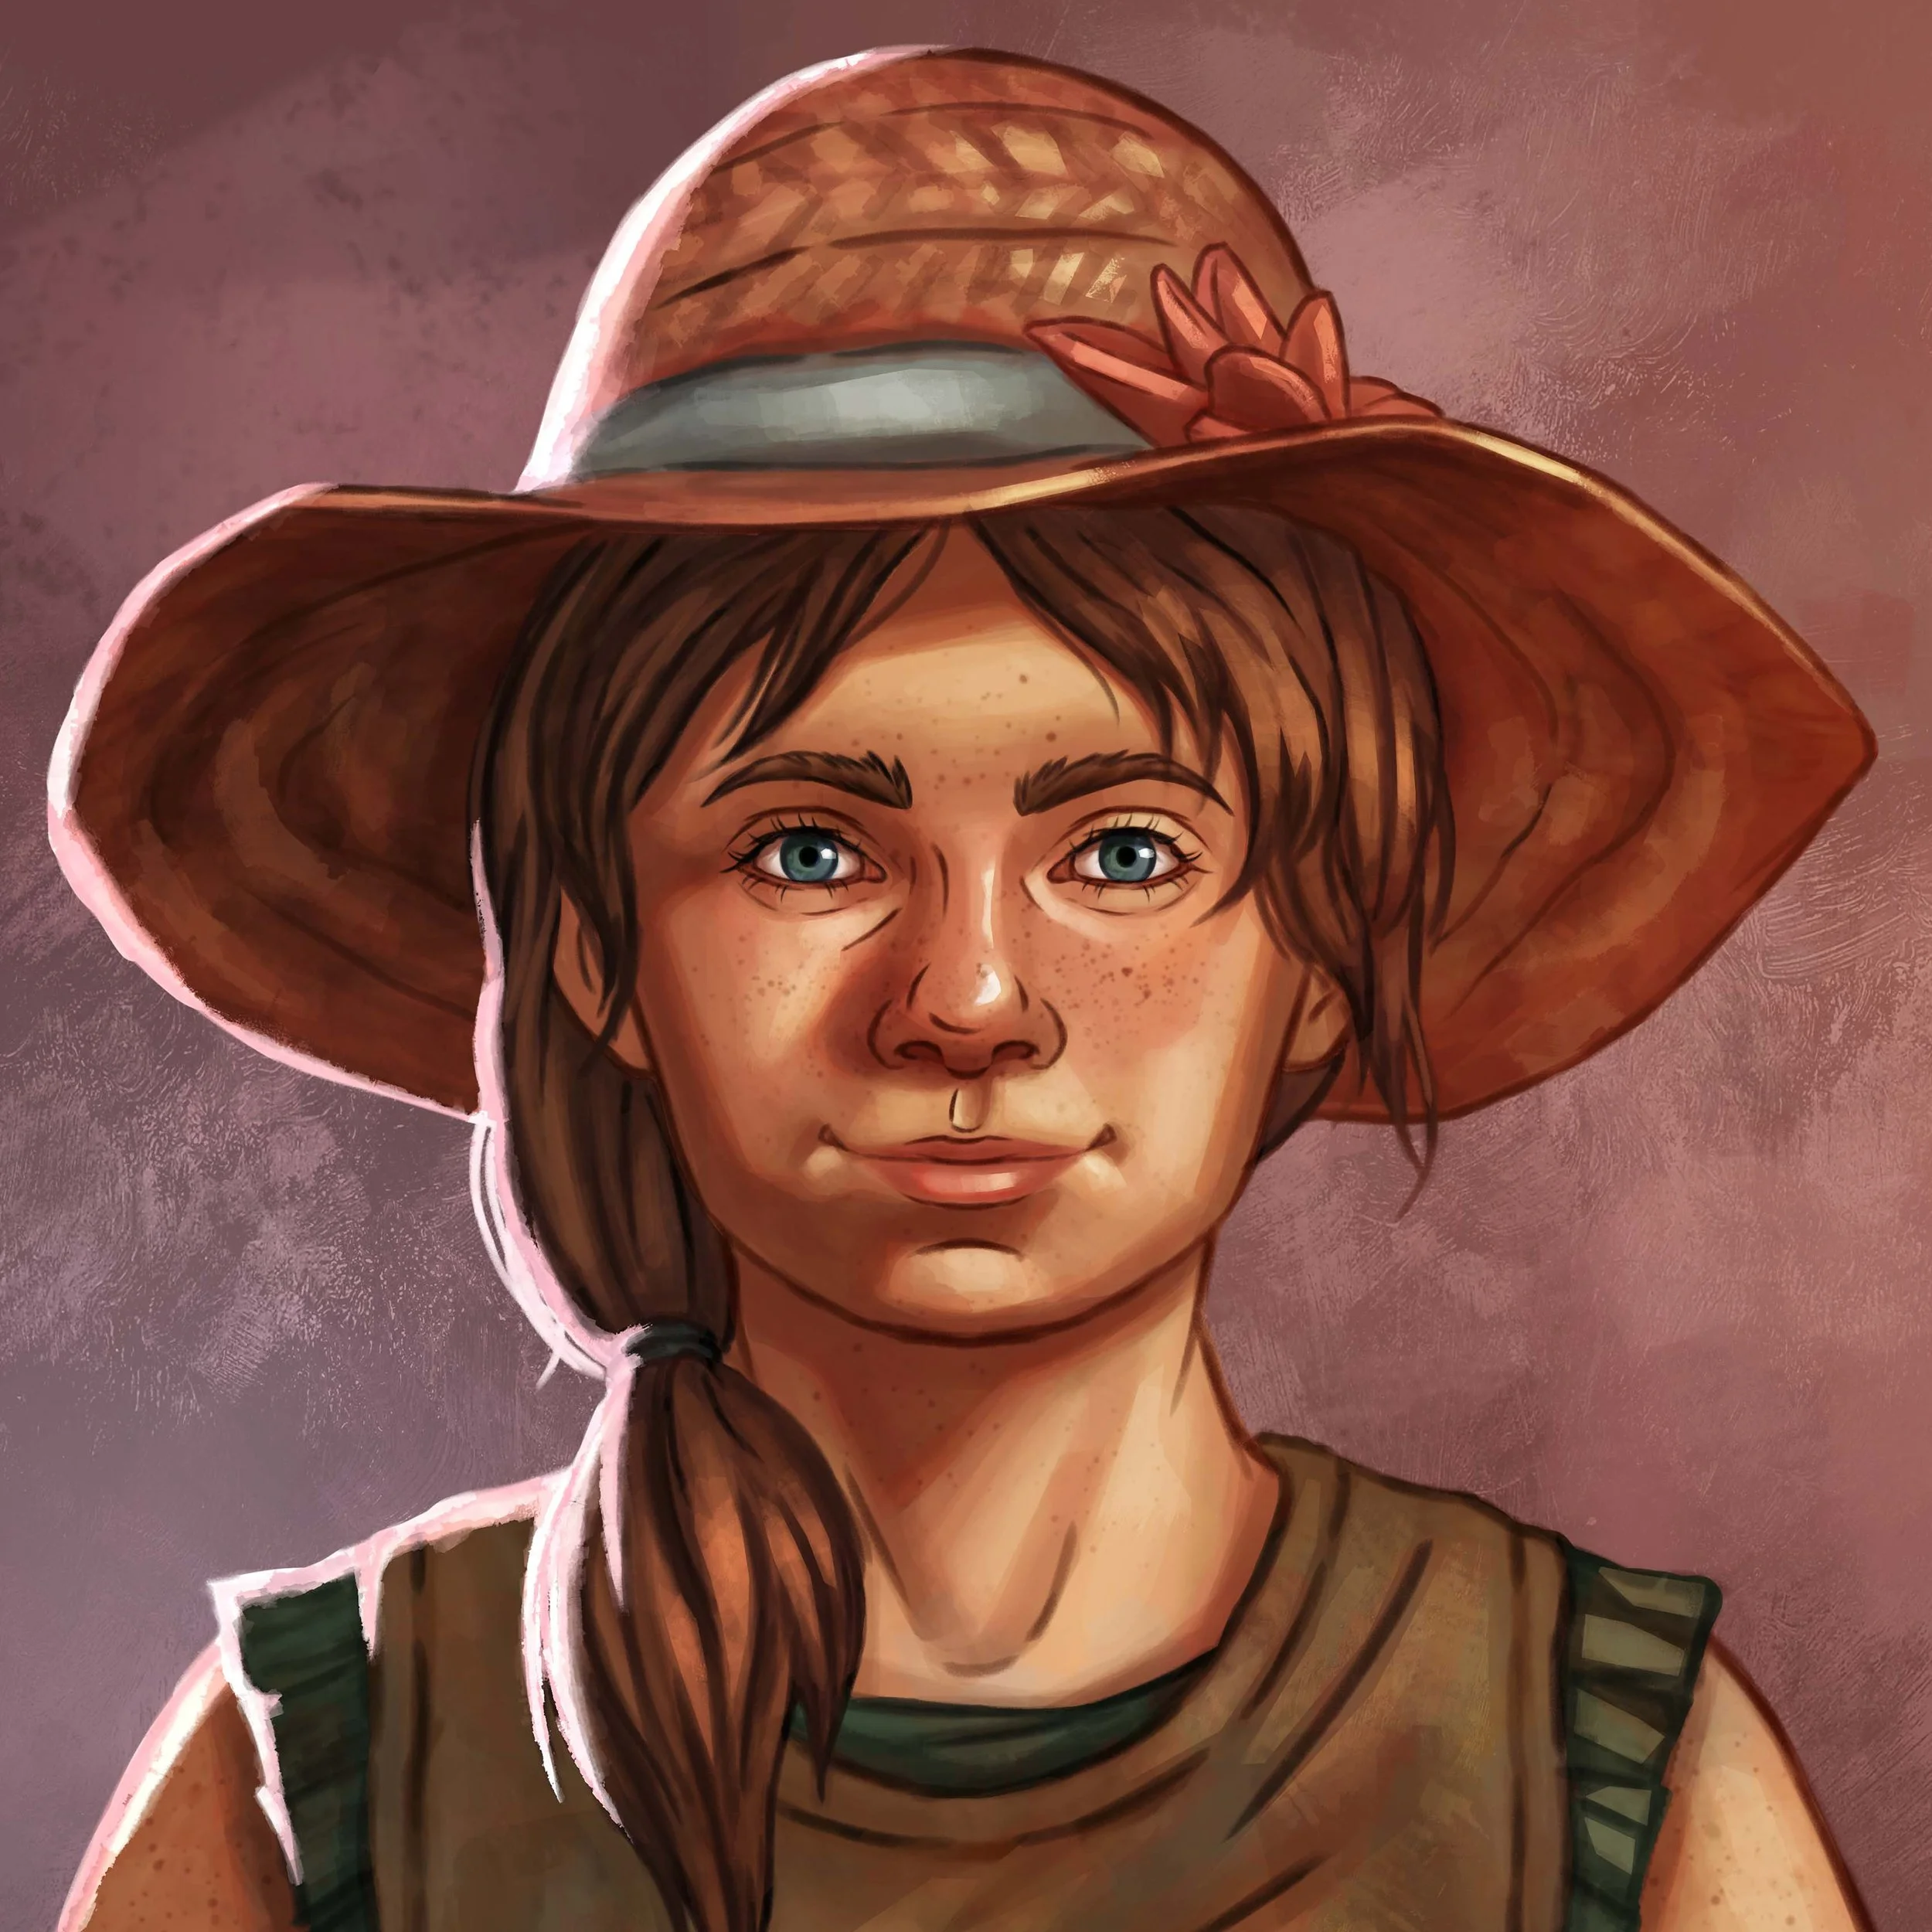
Portrait Spotlight - Tilly
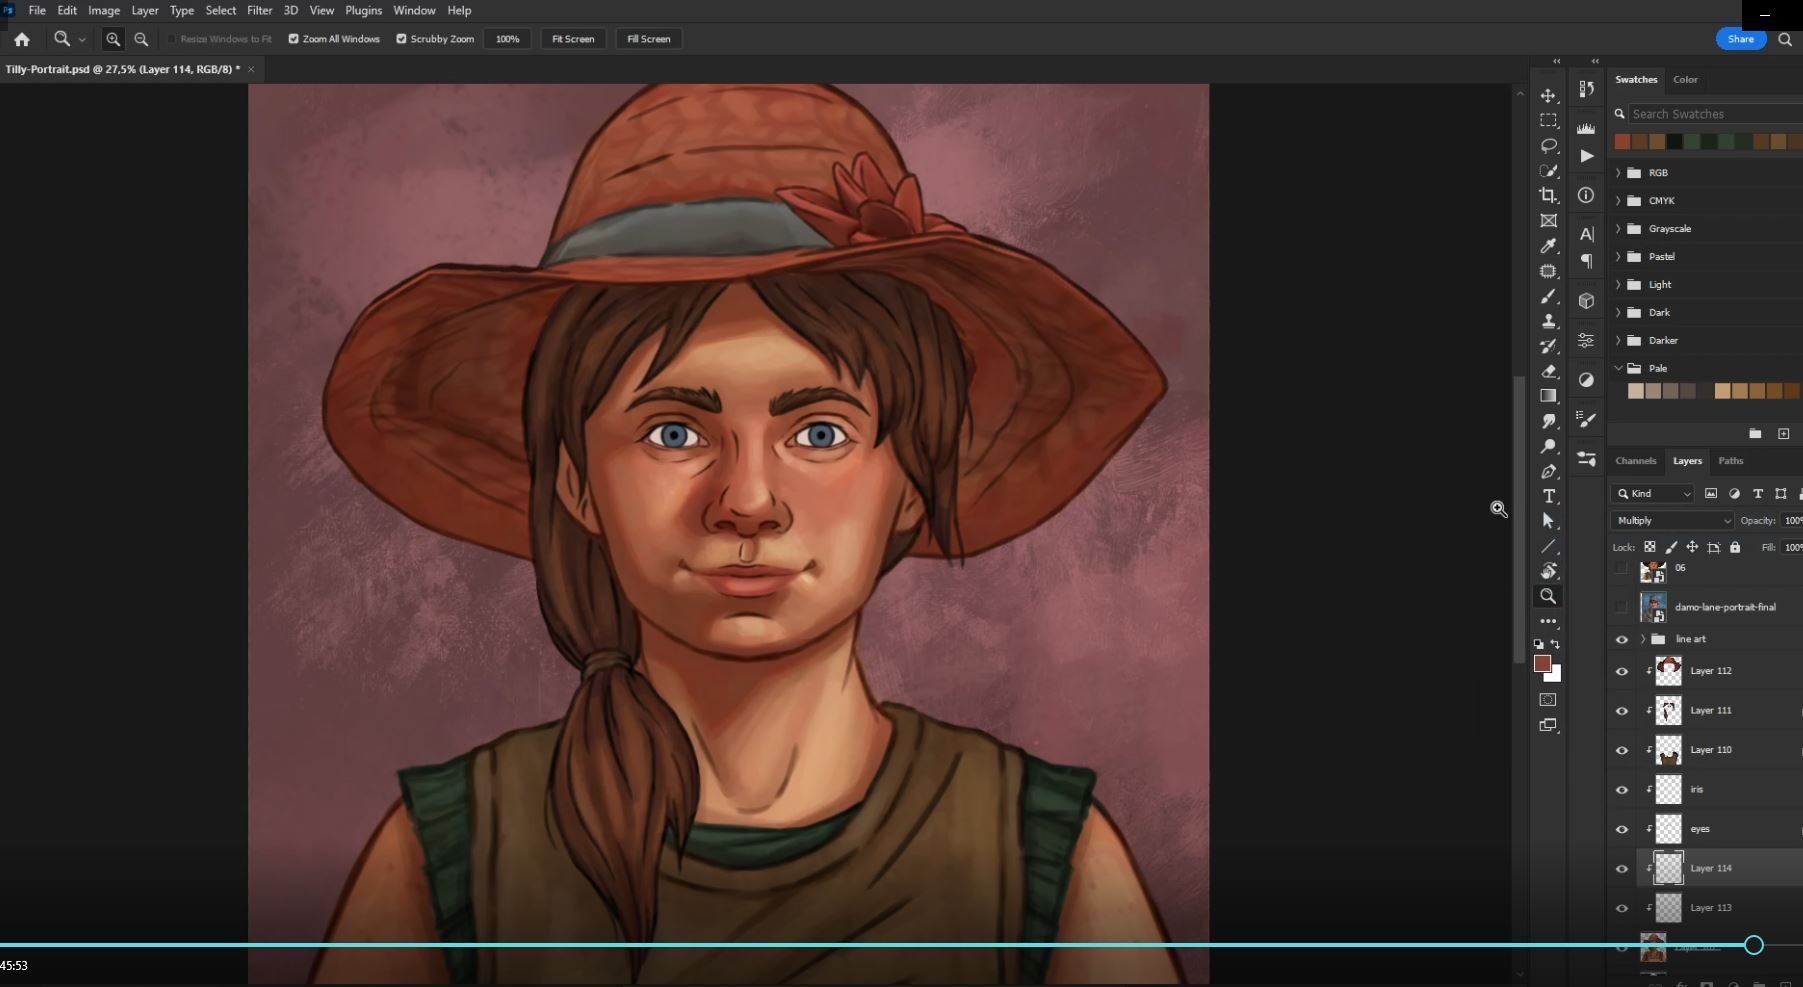
This week we are showing off some of the work by our Mid-Level Concept Artist, Cassandra Lee. Cassy recorded herself creating this portrait of Tilly, one of the young girls living in a hidden community somewhere in Broken Roads. The recording has been sped up into the timelapse which you can see below. Cassy then describes her process and guides us through each step when creating the portraits you see in the game. Enjoy!
My Process
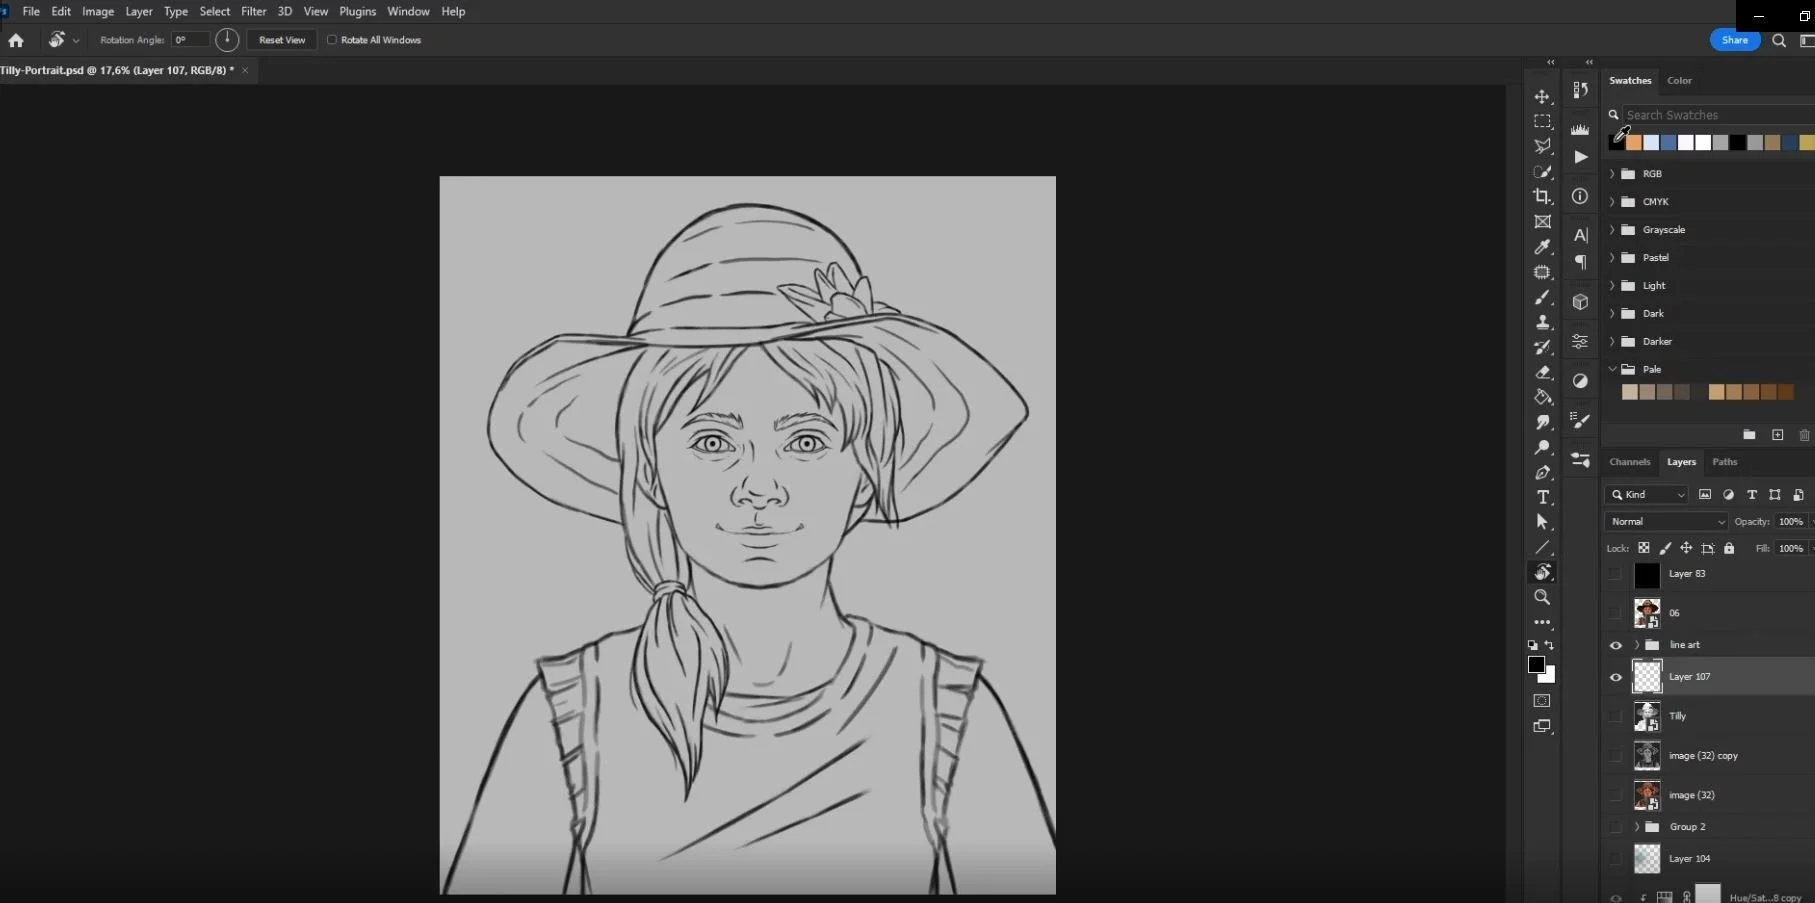
Line art
Each portrait is done using rendered images of the 3D model and 3D texture as reference in order to keep each portrait looking consistent with the model in game and to create a more efficient work flow.
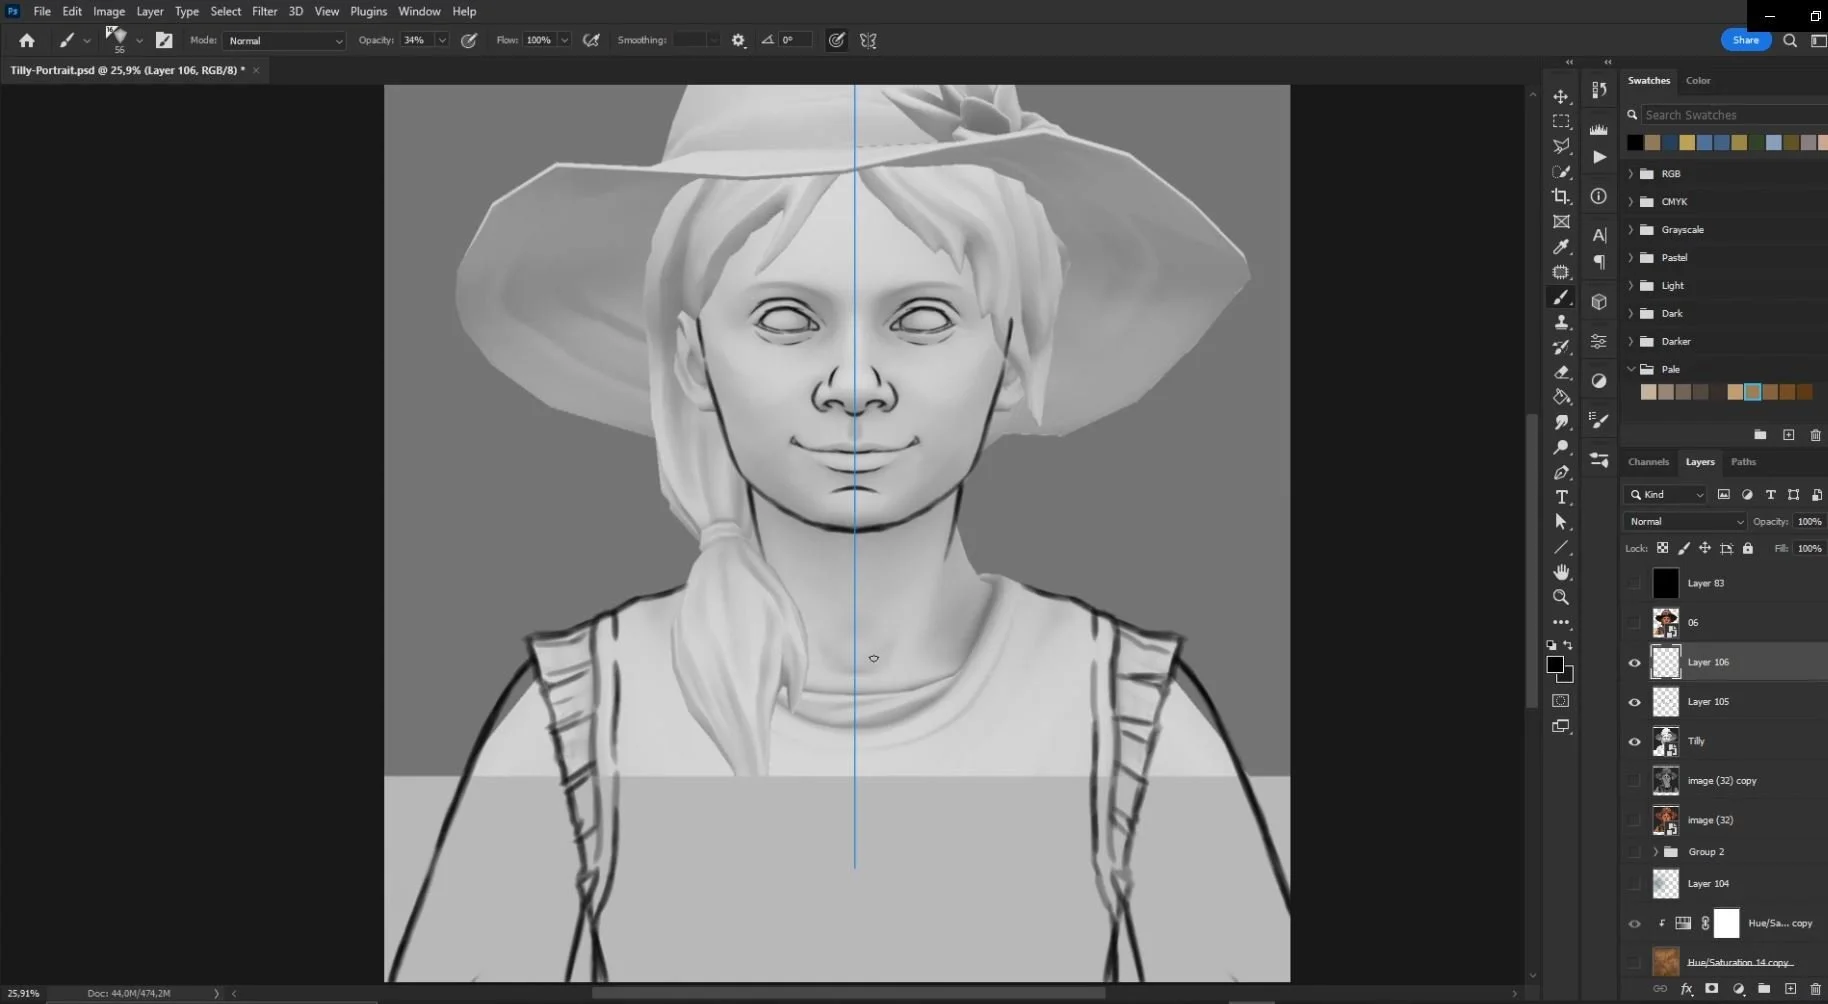
I begin by importing the rendered images of the model and texture into my Photoshop file and making sure the character’s face fits within the specific guides set in the PSD template I created for myself. I will start by tracing over the 3D model’s face using symmetry at first to speed things up and then later without the symmetry tool on so it doesn’t look too symmetrical and unnatural. I use a tapered brush with a pencil texture to give it that sketchy drawn feel. I might keep the line art all on one layer or draw each element on different layers depending on what works best for me on that particular portrait.
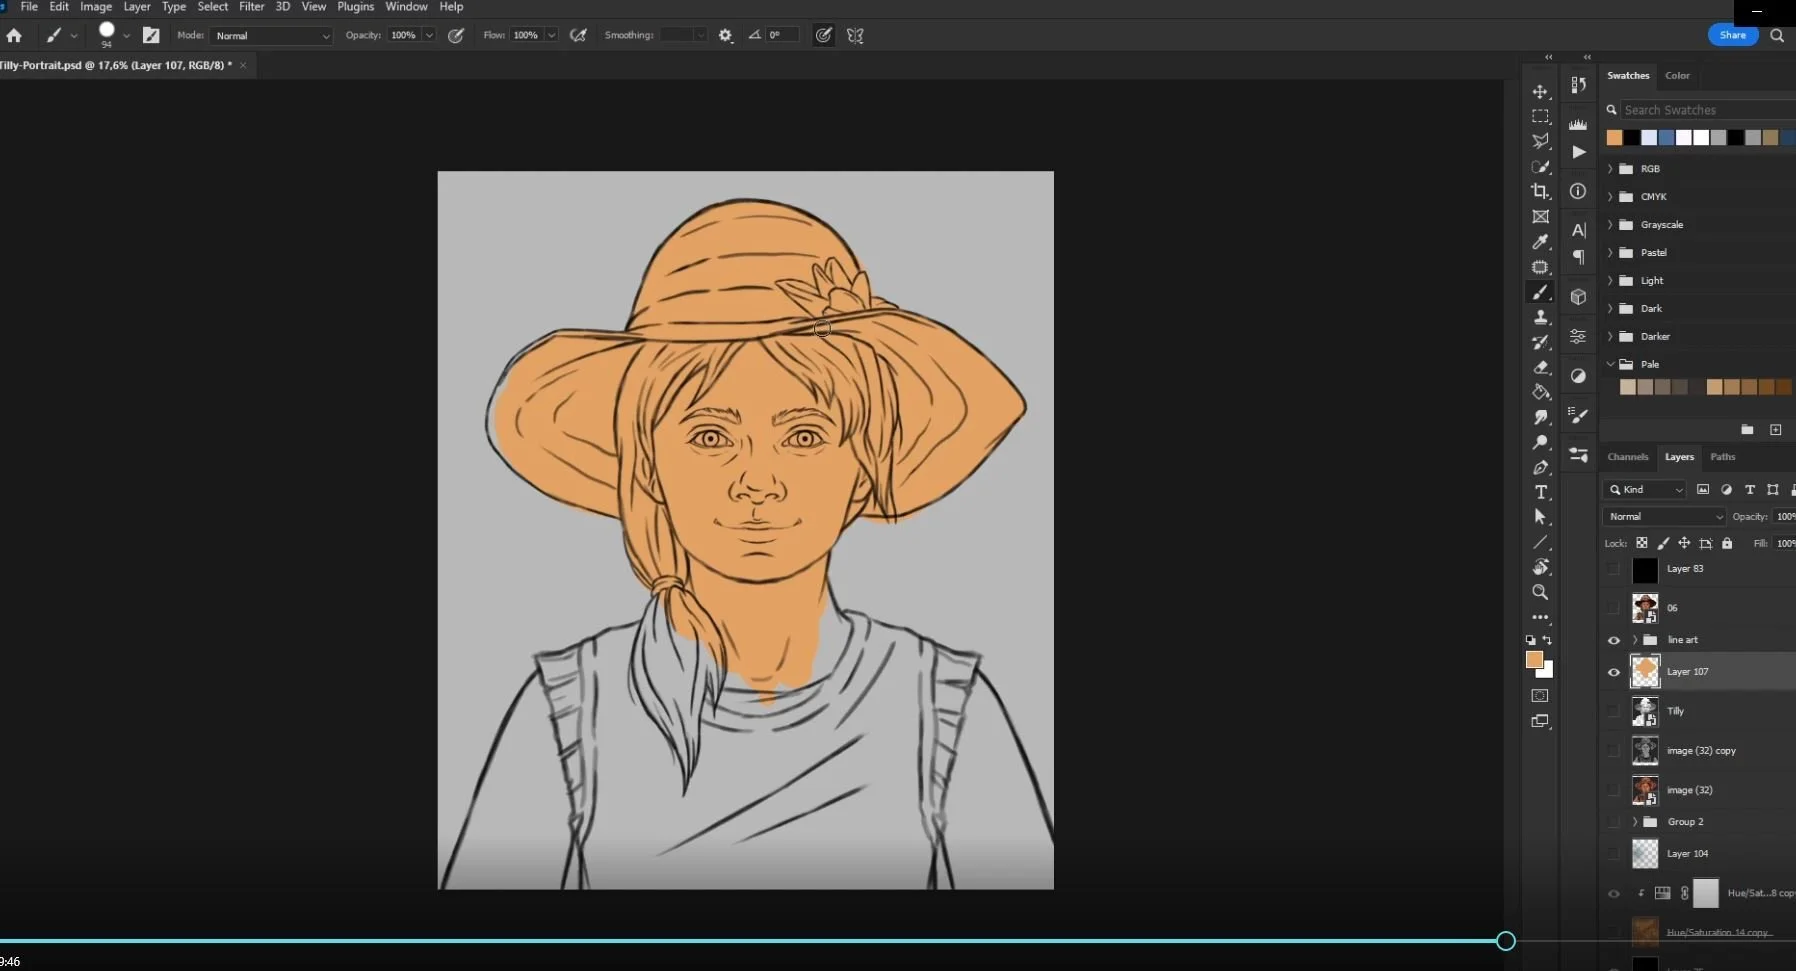
Blocking in Flat Colors
Once all the line art is done I will fill in one solid color on a layer underneath with a big flat solid brush or using the lasso and paint bucket fill tool.
From here I create solid colors on separate layers for each element; the hair, clothes, eyes and so on and then clip each layer onto the main fill layer using clipping masks.
After this I add the rendered images of the 3D model and texture on top and play around with the opacity and adjustment layers until I find what works best for me. I add these images on top of the flat colors to add some ambient occlusion and the color palette from the 3D texture. This is a bit of a back and forth process as I figure out what works best for each portrait.
Painting
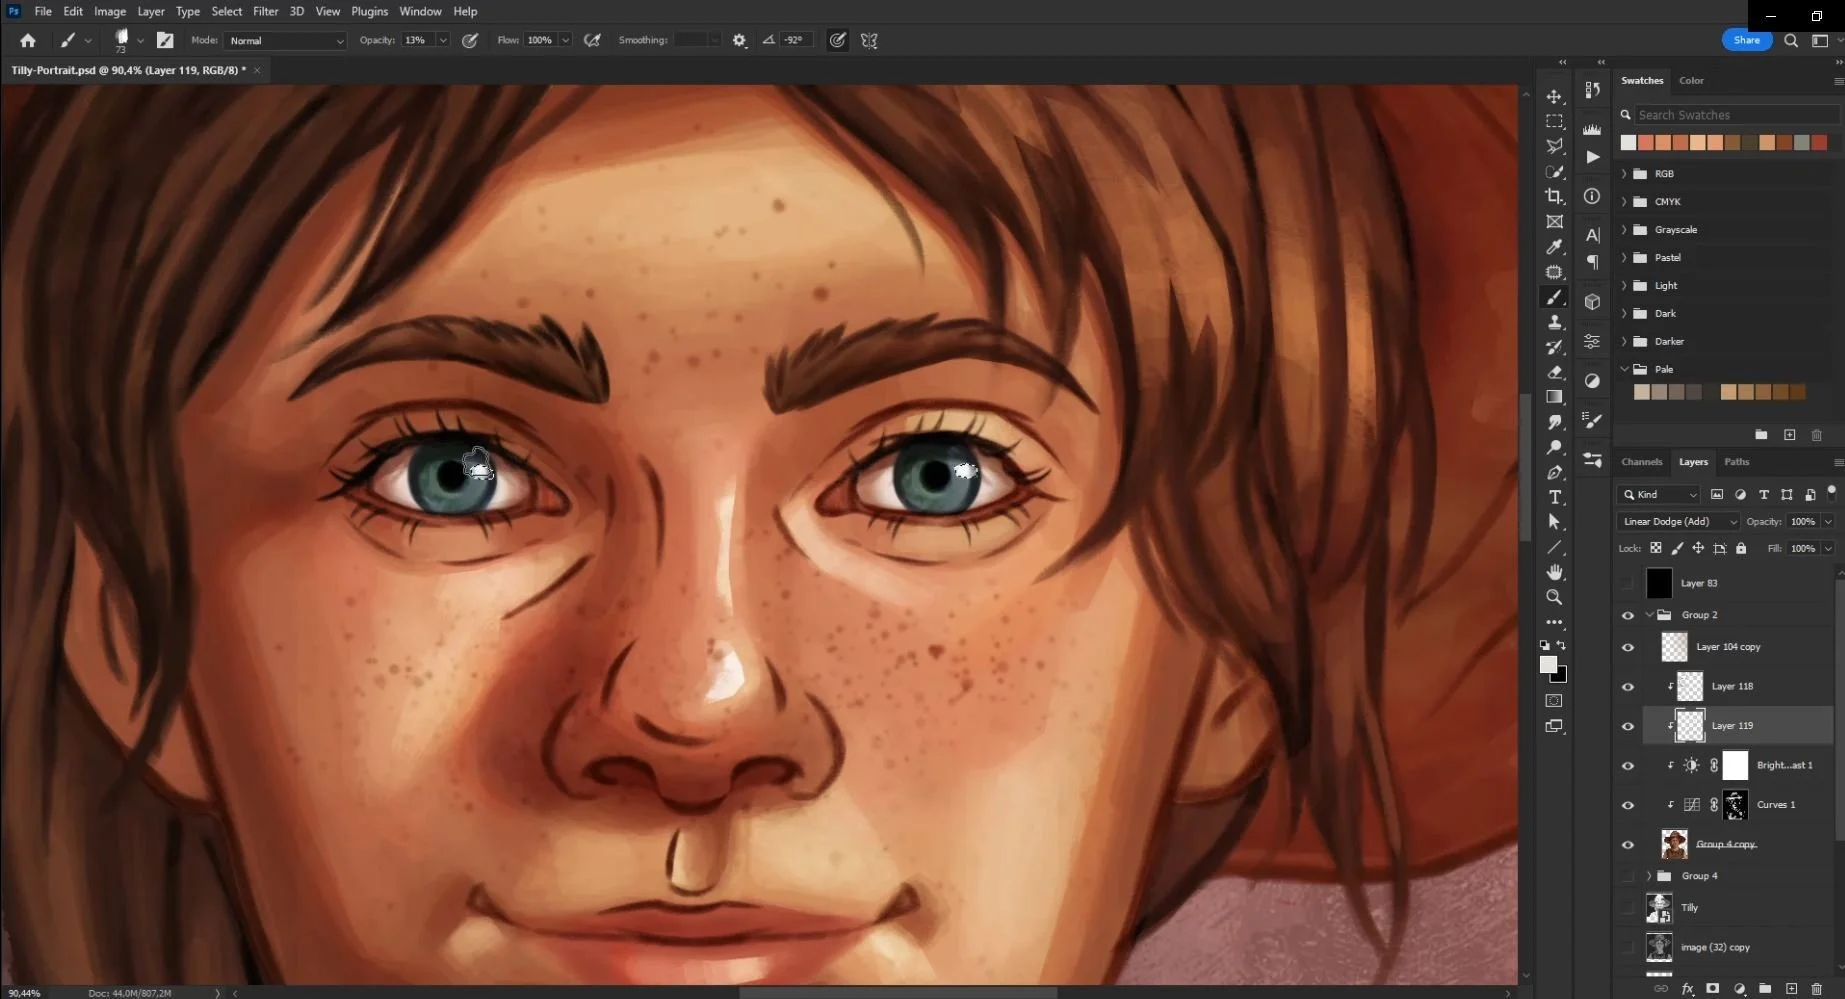
I start painting on each separate layer with a combination of different textured brushes. I usually start with the skin and face first to establish the direction of the lighting and the overall color tone and move out from there, using smaller finer brush details on the face and larger brushier strokes on the clothes, hair and other accessories. I will also add various multiply layers on top using the lasso tool to create hard cast shadows in areas where they are needed or soft linear dodge layers on the areas catching the light such as the cheeks, nose and forehead.
At some point I color in the line art layers by locking the transparency of the layer and picking a darker color that corresponds nicely with the lighter color that I’m picking from.
Throughout this process I am continually checking back and forth between my 3D texture reference to make sure the portrait is consistent and I am not forgetting any small details. Towards the end of the process I spend time on small details around the eyes, making sure the eyelashes, shadows and highlights within the eyes look good and make the portrait come alive.
One significant detail to add is subsurface scattering. I add an overlay layer on top of the skin and paint in some reddish brushstrokes along the rim of the nose and the edge of shadows to help bring in the effect of the sunlight bouncing through the transparency of the skin.
For Tilly I made sure to add in some cute freckles!
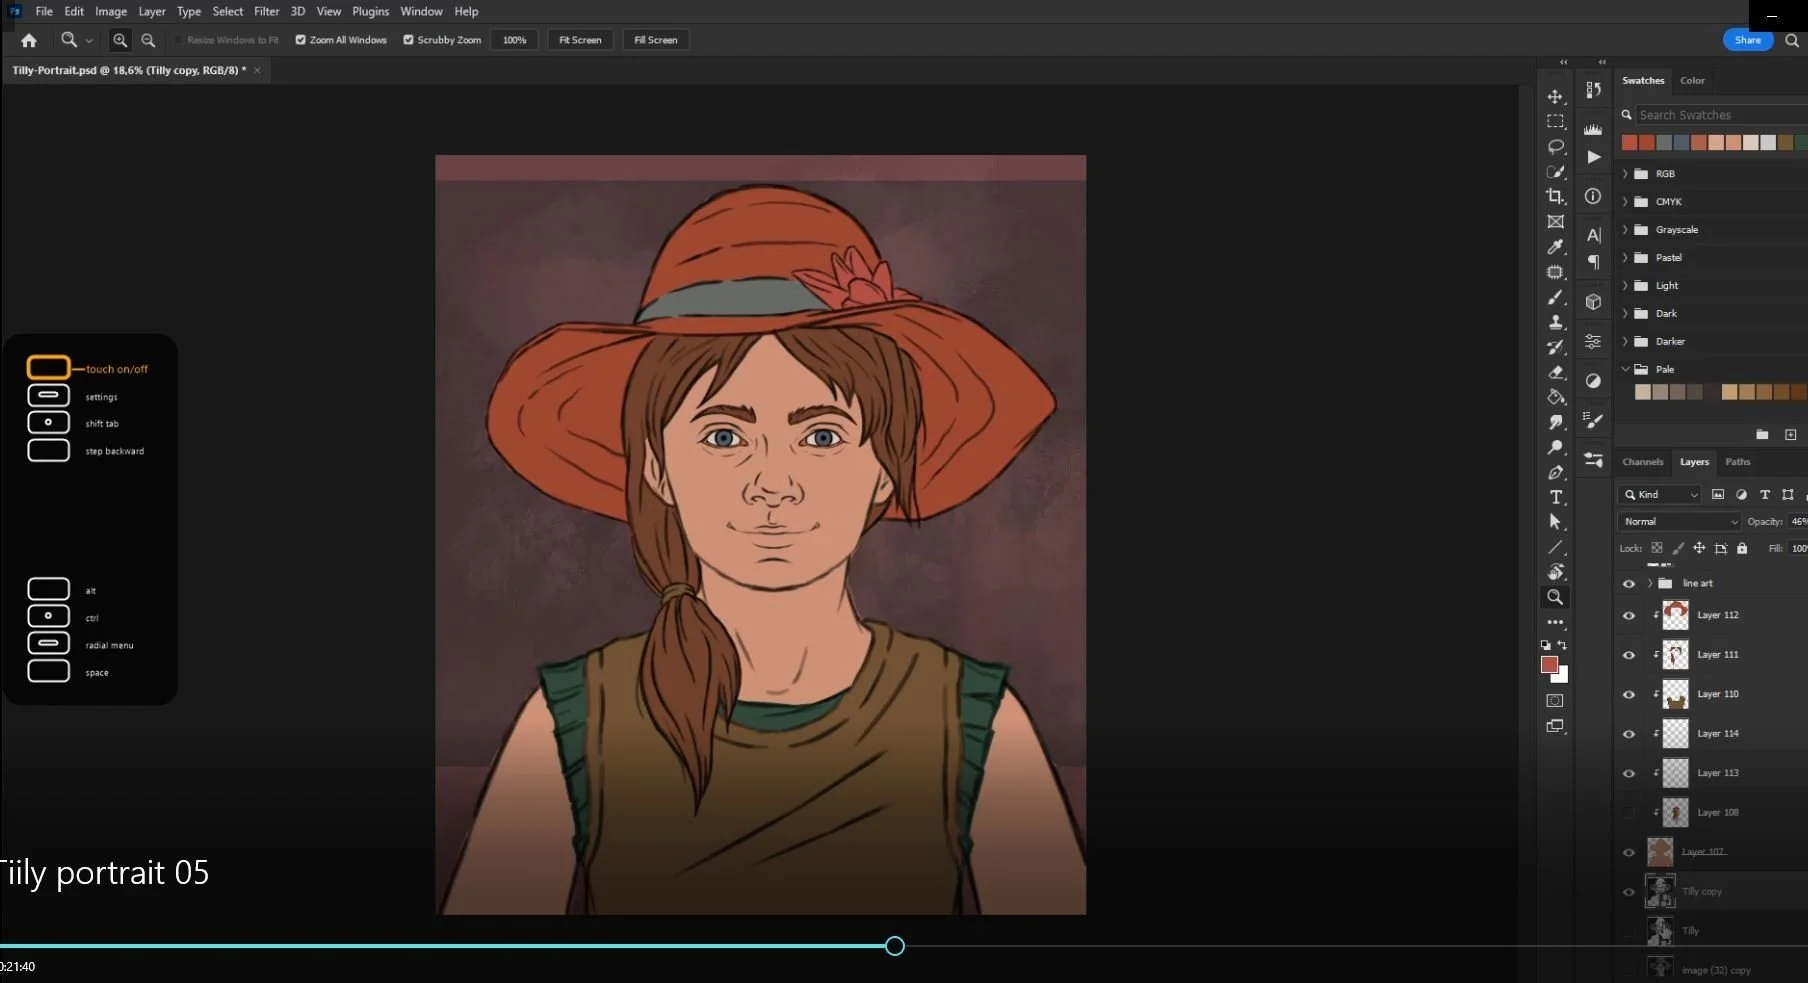
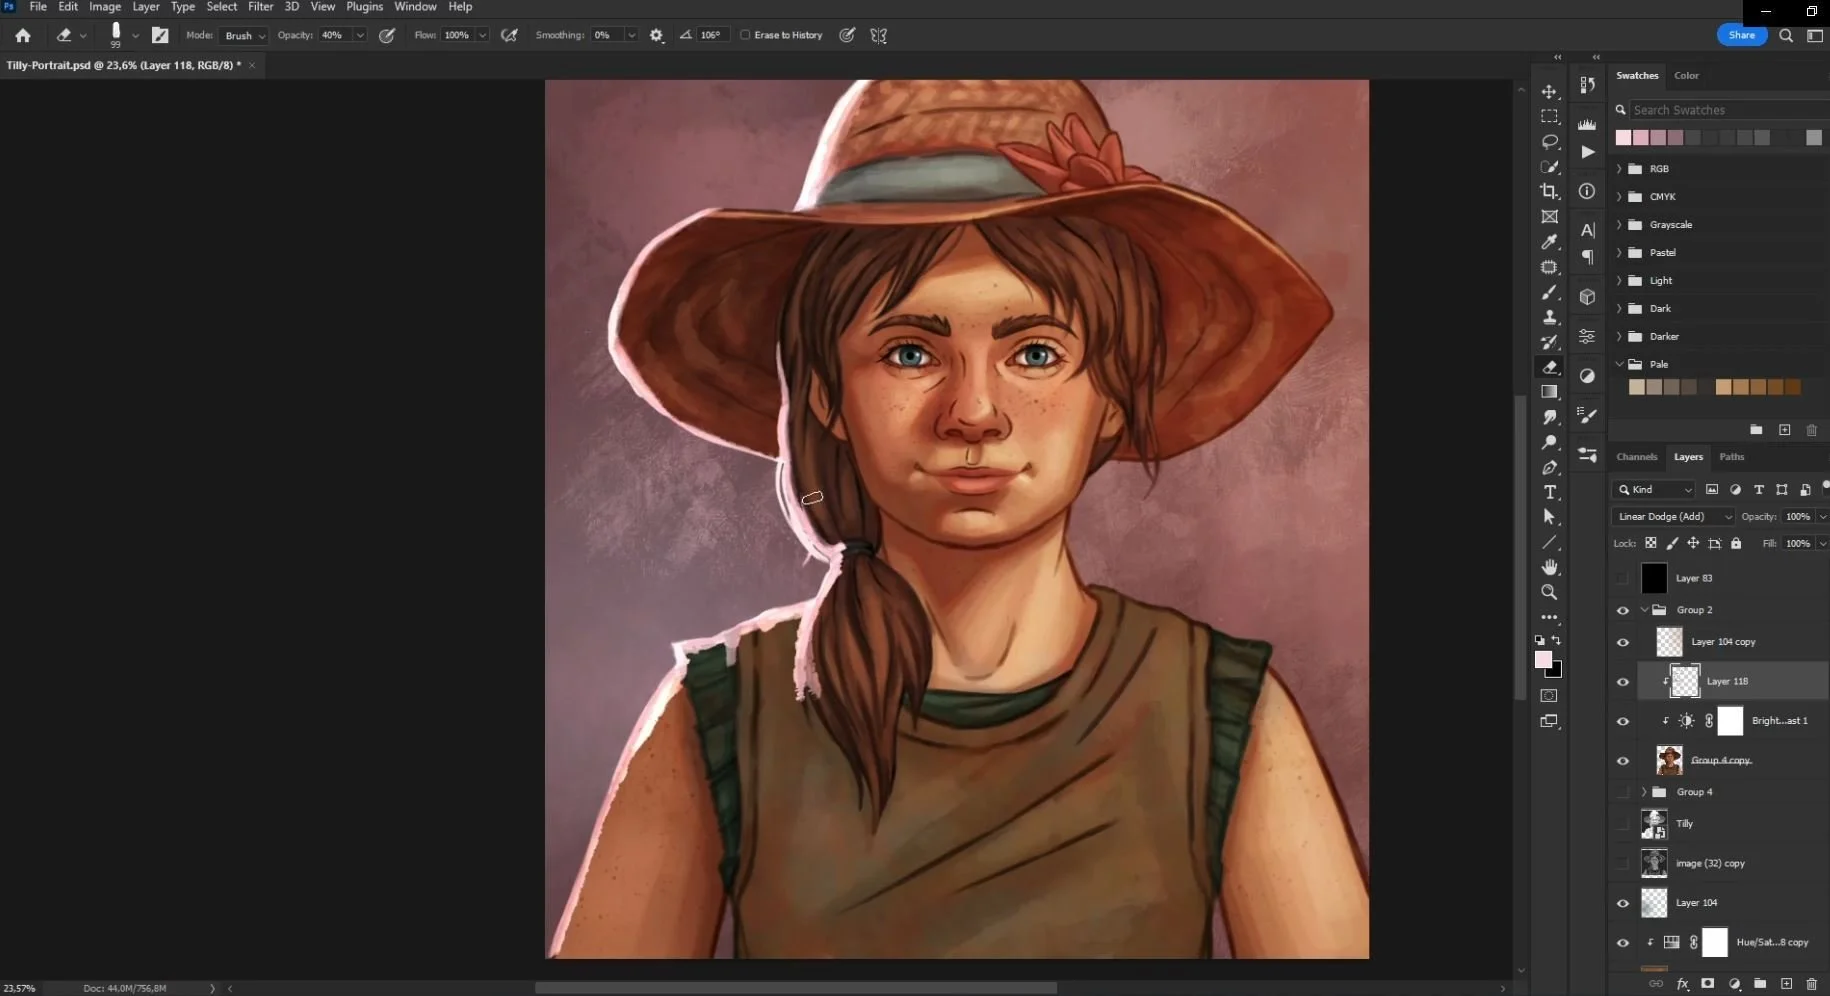
Final Touches
Now I duplicate all these painting layers and flatten them. On top of this one flat layer I paint in the last finishing touches. I add in separate strokes to indicate strands of free flowing hair and a cool toned rim light on the left side of the portrait, making sure the rim light is not painted as a solid line but helps inform the volume of the shapes I am painting. I ramp up the brightness and contrast with an adjustment layer and start adding in those last few bright specular highlights on the tip of the nose and one or two other places with a sharp edged lasso tool.
I might adjust the hue of the background color to fit better with the colors of the character. I end with a soft warm glowing gradient on a low opacity linear dodge layer on the right side of the portrait to give that feeling of warm sunlight being cast over the character.
You can see more of Cassy’s work on her Artstation portfolio at https://www.artstation.com/cassandra_lee, or follow her on Twitter at https://twitter.com/_Cassandra_Lee_